

Introducing SolFlare The First Staking Wallet For Solana
This is an updated step-by-step guide on how to stake Solana with the Solflare wallet.
Dokia Capital created the SolFlare wallet created explicitly for the Solana Network. With Solflare, you can send, receive, and stake $SOL and other crypto tokens as well.
The wallet has an integration option with the Ledger Nano S hardware wallet, and the Solana team is working on integrating with even more wallets.
Create Your Wallet
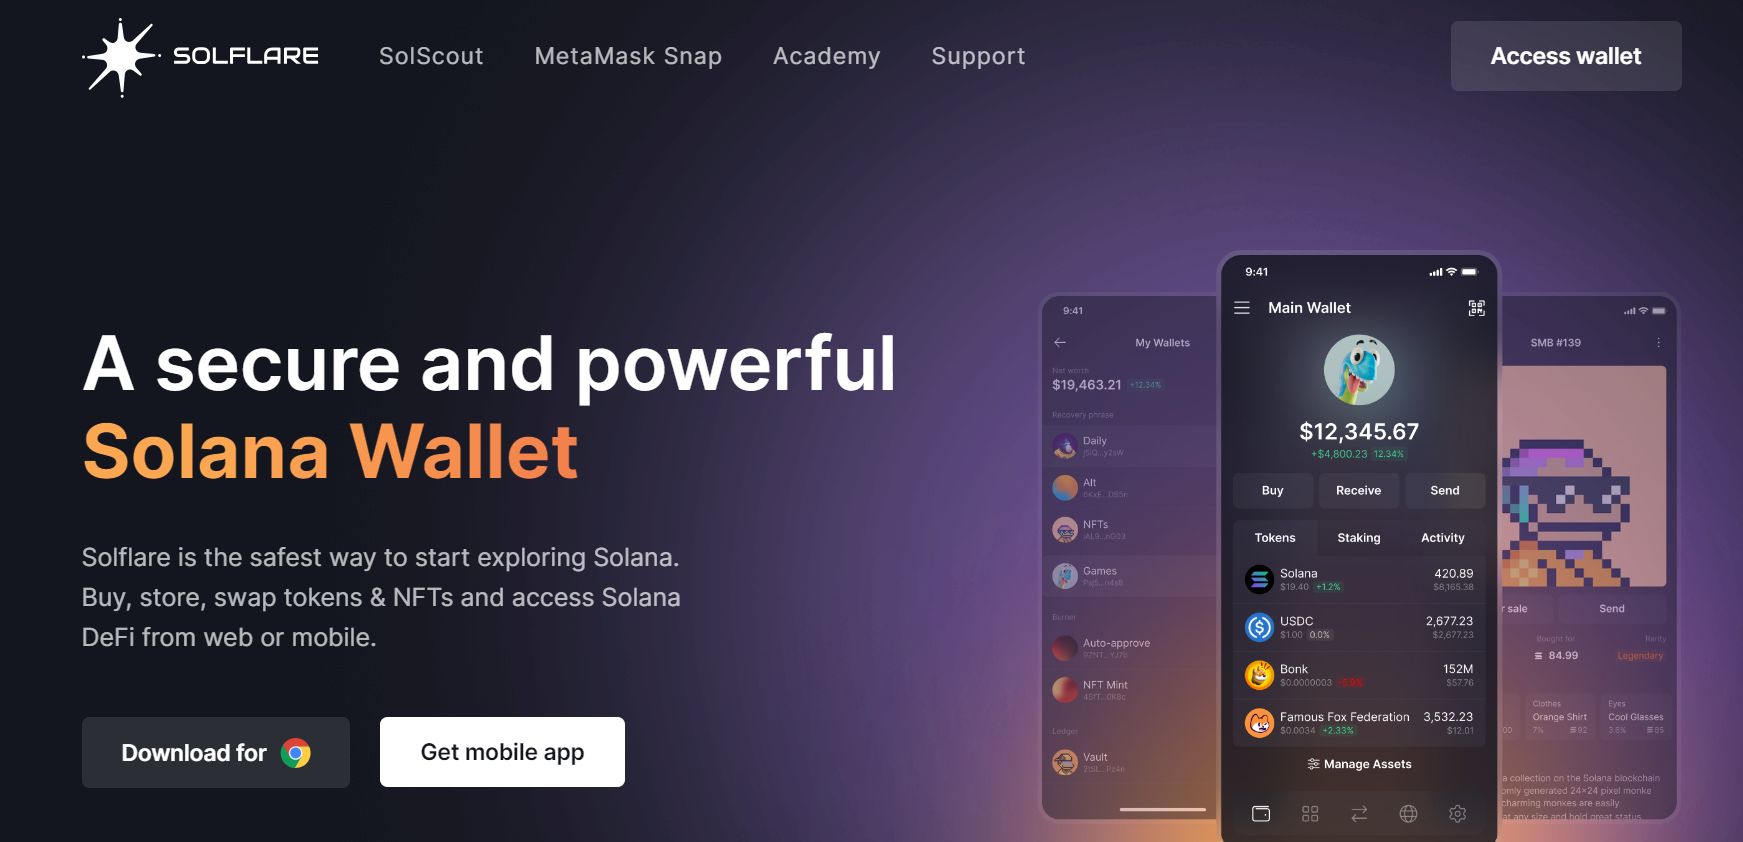
Step 1: Visit solflare.com and select “Access wallet.” in the upper-right corner.
Then click on “Access wallet.”
Note down the suggested recovery phrase which is a set of 12 random words. These words are used to generate a public address for your Solflare wallet.
IMPORTANT: Make sure you store your security phrase offline. It is not recommended to store your recovery phrase online (for example on Google Drive) or take a picture of it with your phone. Losing access to your recovery phrase could mean you will not be able to access your wallet, thus resulting in loss of funds.
Step 2: Click on “I saved my recovery phrase.”
Step 3: Insert your recovery phrase (each of the 12 words in a separate field) for verification:
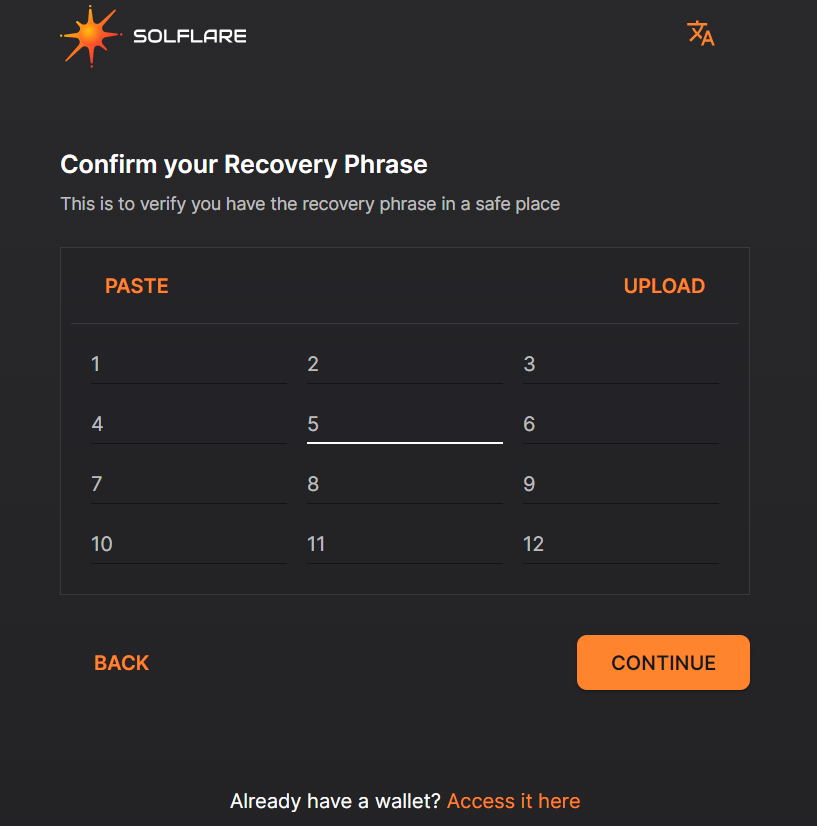
Step 4: After entering the recovery phrase click “Continue”.
Next, you will be prompted to create a password for your Solflare wallet. Follow the password instructions on-screen to create a secure password for your Solana wallet.
After creating a password and logging in, you will be presented with the Solflare wallet’s home page.
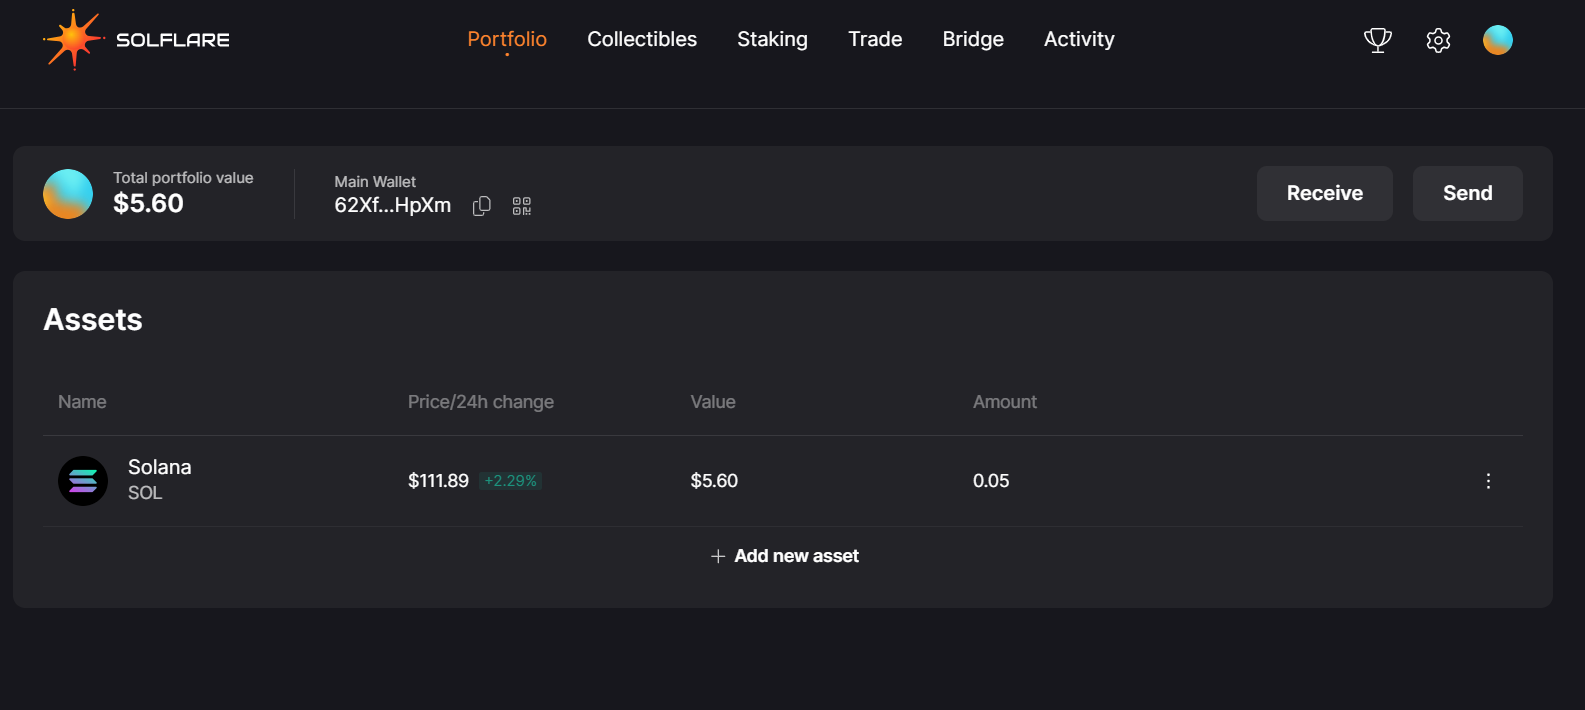
Before you proceed to stake your $SOL tokens, you first need to ensure that your wallet is funded, either by purchasing and depositing $SOL tokens (from a centralized exchange such as Coinbase, or a decentralized exchange such as Uniswap) into your Solflare wallet.
Stake your $SOL tokens
After you’ve created your wallet (and deposited your $SOL tokens) you can proceed staking your $SOL tokens.
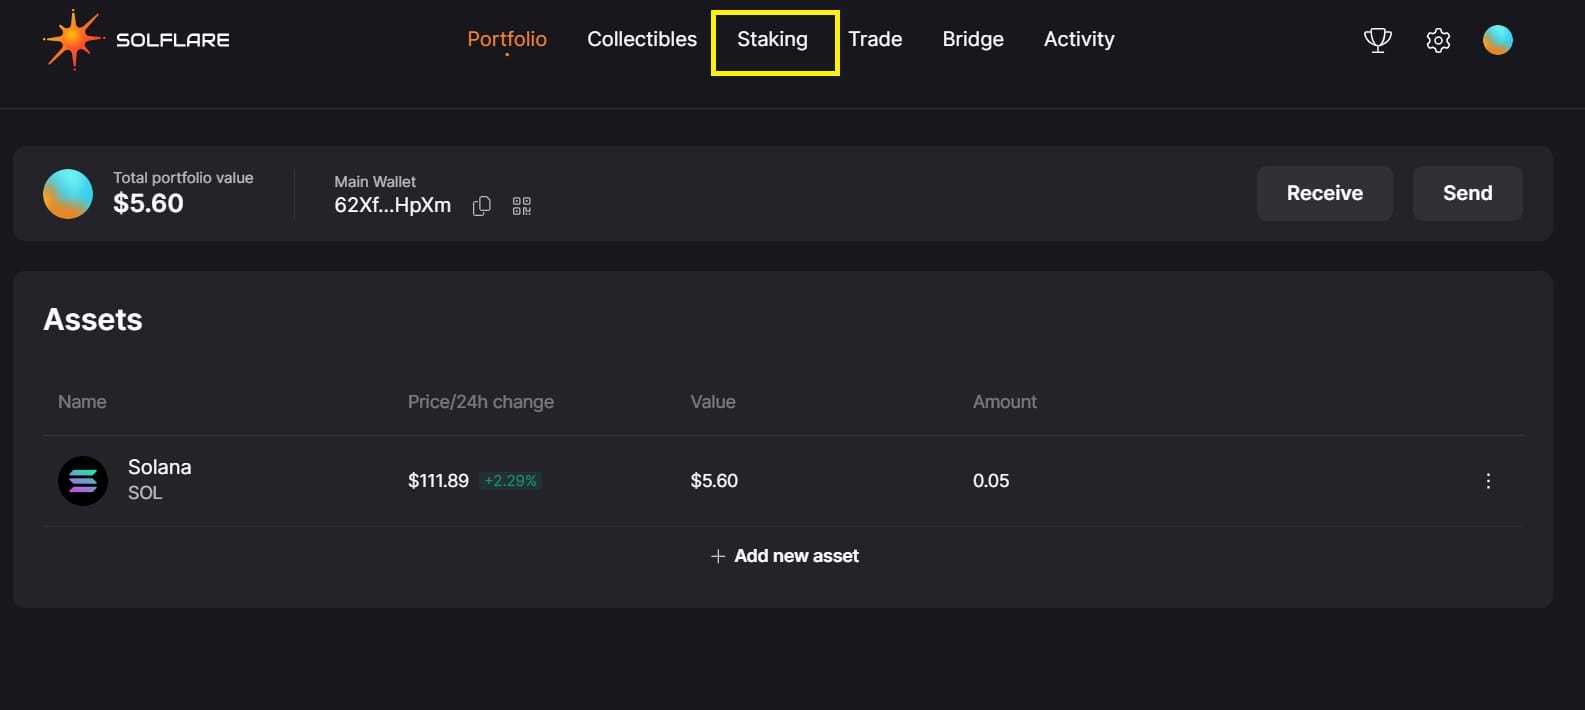
Step 1: Click on “Staking” located on the header menu
Step 2: Click “Stake Now”
A pop-up window will emerge asking you to select a validator for staking your tokens. Solflare is the default validator suggestion which means you will have to manually locate and select Stakin as a validator.
Step 3: Click on the Validator drop-down menu and type “Stakin” in the textbox. Scroll down to locate Stakin among the list of validators.
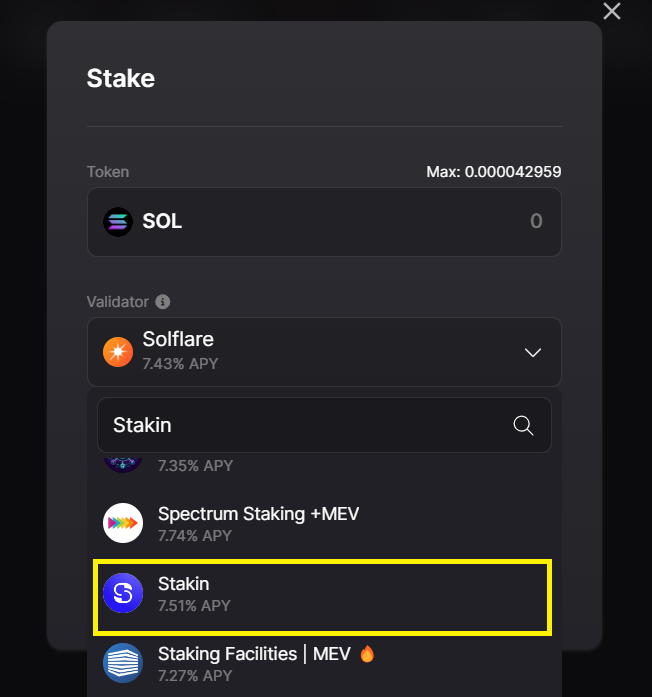
Step 4: Specify the amount of $SOL you wish to stake (not less than 0.2 $SOL) and click “Stake”.
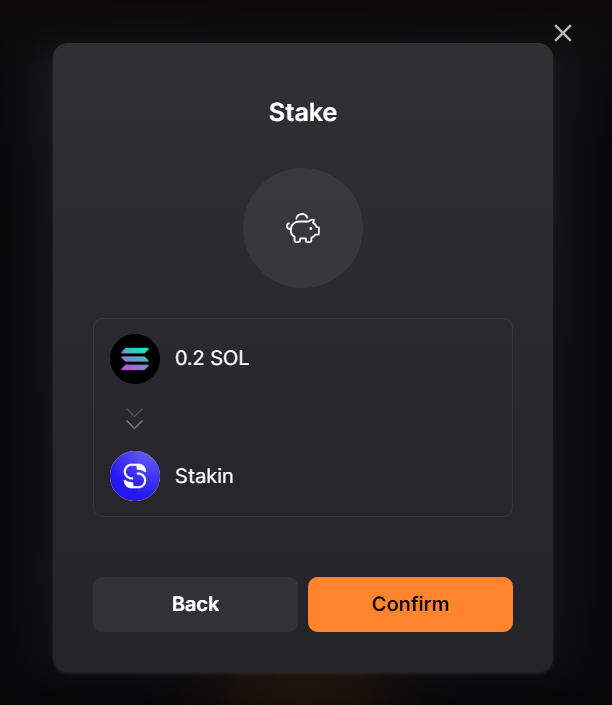
Step 5: Click “Confirm”.
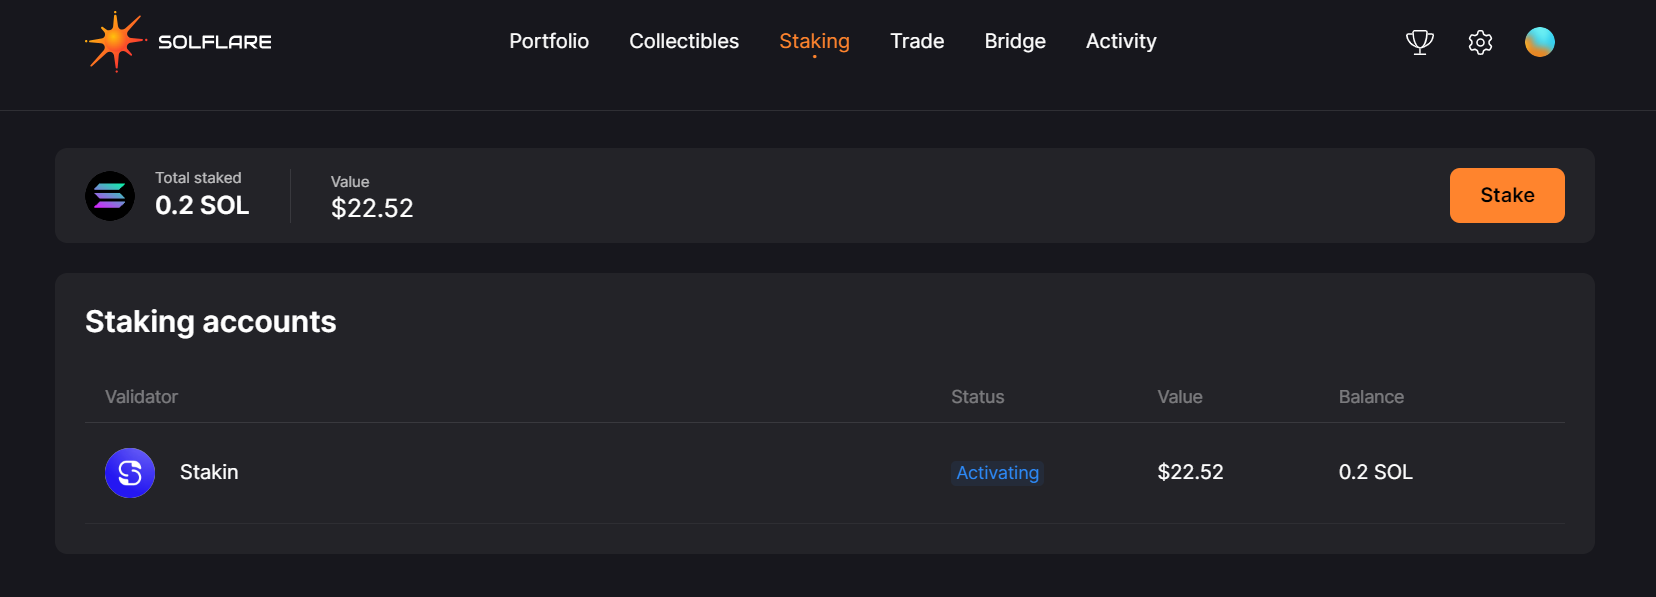
It will take a few seconds to a few minutes for the transaction to execute on-chain after which you will be able to see your staked amount:
Why choose Stakin as a validator?
Because it is profitable. We provide a competitive 7.51% APT with nearly 100% uptime.
Because of our strong track record. Stakin has been a Solana testnet participant since the early Solana testnets with TDS Stage 1, in February 2020. Stakin is also a trusted partner of the Solana Foundation as part of the Foundation’s delegation program, and partners with leading liquid staking protocols such as Marinade and JITO.
Because we have skin in the game. Stakin is a long-term $SOLhodl-er, ensuring that we are aligned with the interests of the community, network, and delegators.
Note: Before staking, make sure to keep at least 0.05 $SOL in your wallet to pay for the transaction fee. If you stake the maximum possible sum, you won’t be able to unstake and withdraw your tokens further on.
Wait while the transaction is confirmed on-chain.
How to unstake your $SOL tokens?
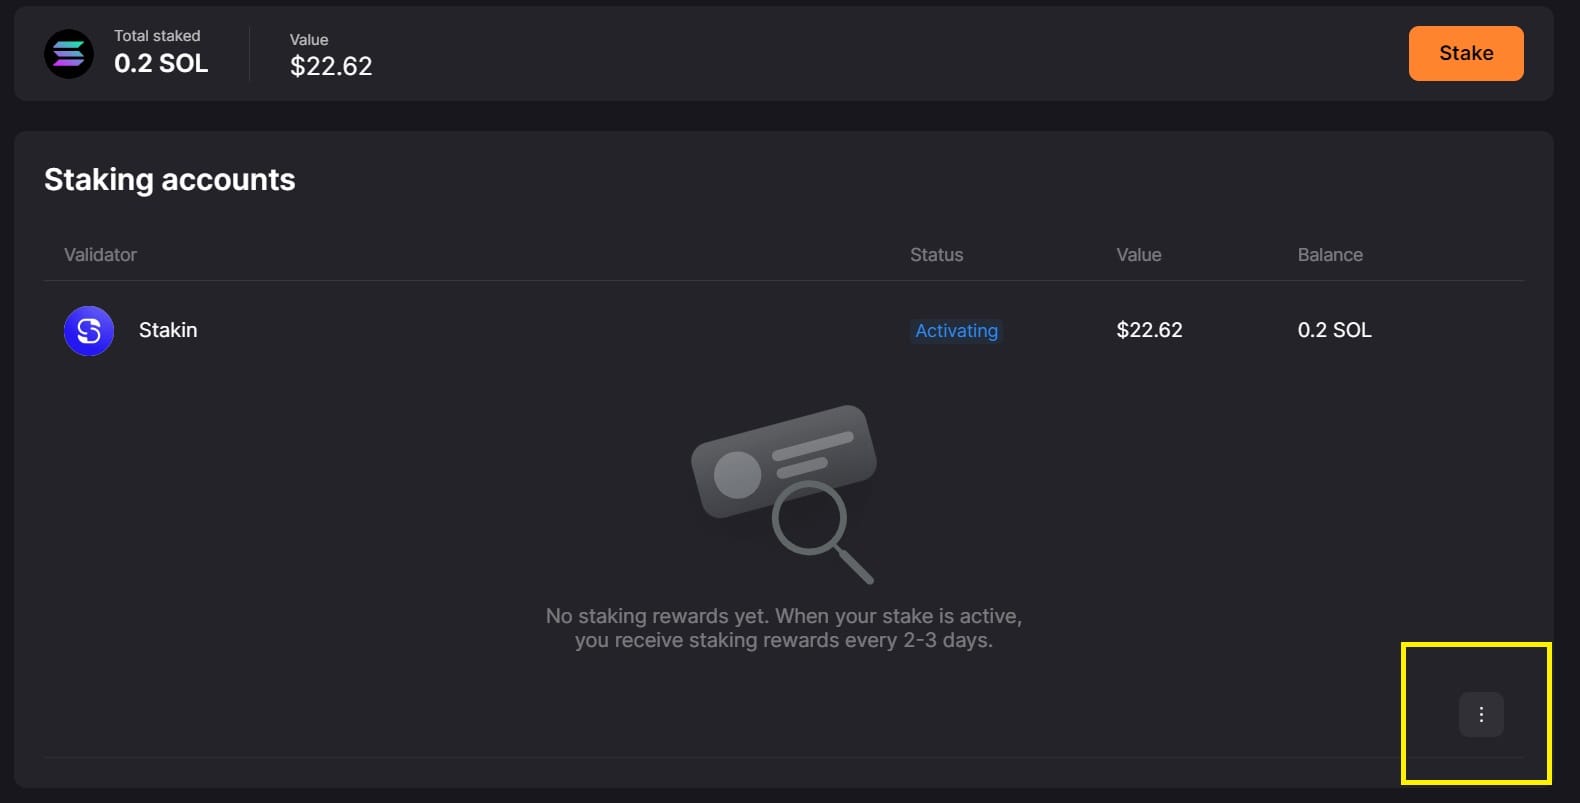
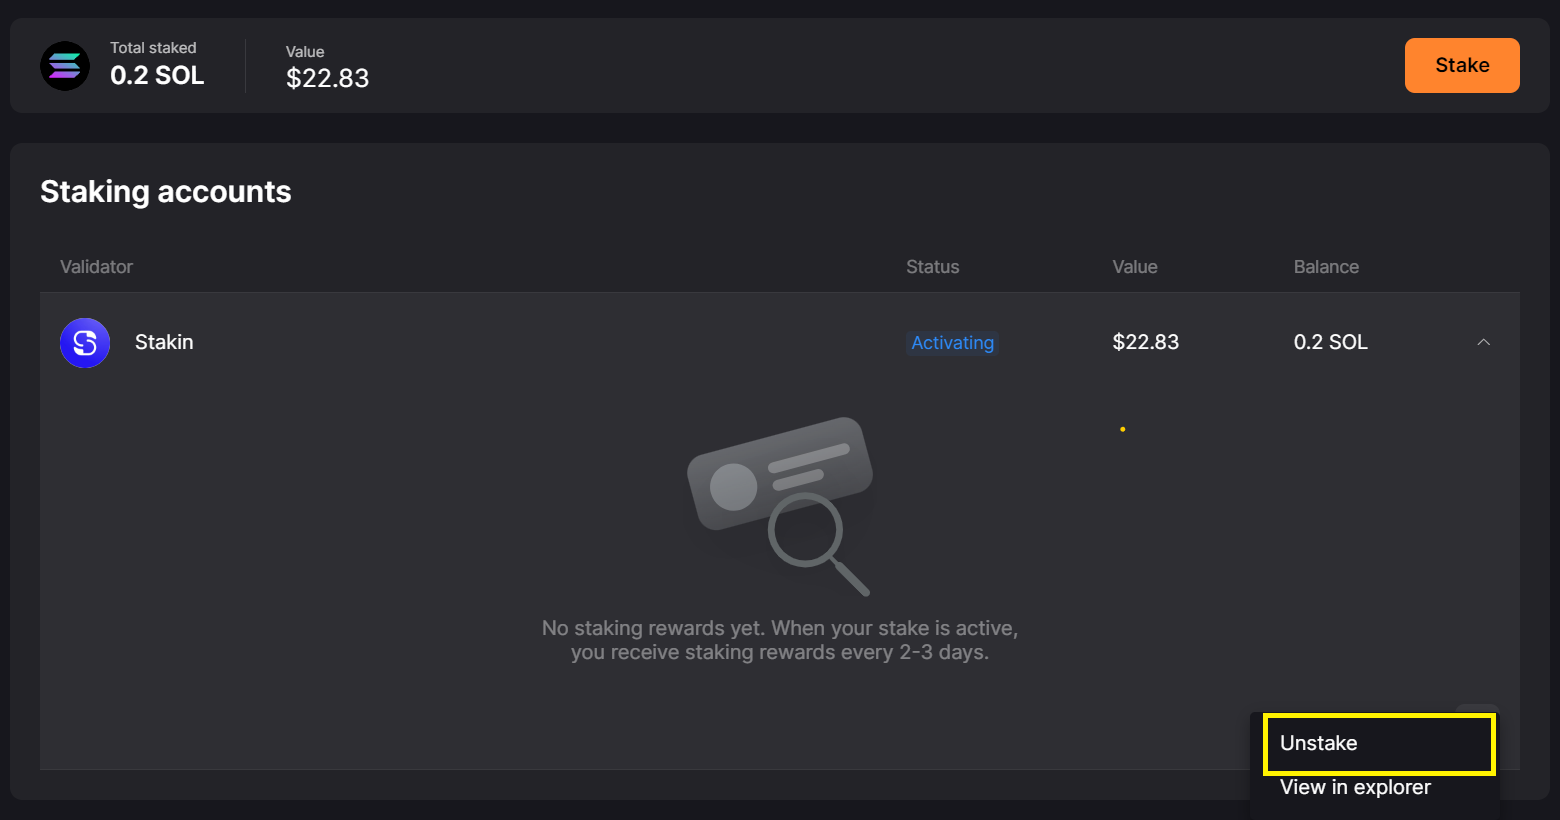
Step 1: Click on the arrow towards the right part of the table, as shown:

Step 2: From the expanded area locate the hamburger menu on the bottom right, click on it, and select “Unstake"
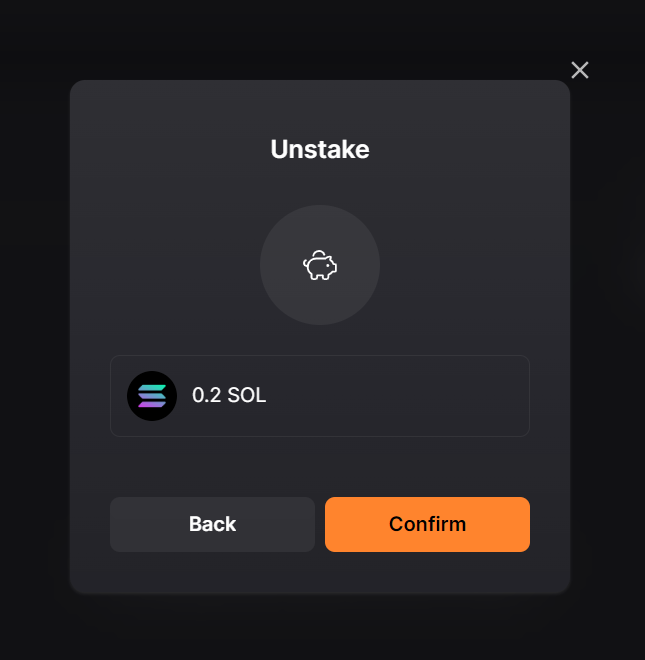
Confirm that you wish to unstake your $SOL by clicking “Confirm”. Then wait for a few seconds for the on-chain confirmation of the transaction. Please note that rewards will no longer be generated from the moment of unstaking.
Voila, your funds are now available for withdrawal. Click “Withdraw” if you wish to proceed.
Step 3: Click “Withdraw,” then “Confirm,” and then wait for a few seconds for the second transaction to complete on-chain.
That’s it - you have your funds available back in your Solflare wallet, under the Portfolio tab.
More Information & Sources:
DISCLAIMER: This is not financial advice. Staking and cryptocurrency investment involve a certain degree of risk, and there is always the possibility of loss, including the loss of all staked digital assets. Additionally, delegators are at risk of slashing in case of security or liveness faults on some PoS protocols. We advise you to DYOR before choosing a validator.
Join the conversation