

Hi Readers, IRISnet is finally live! In this article, we decided to explain to you how to delegate your tokens in an easy manner.
Hi Readers🙋,
IRISnet has been around for a while, and it’s mainnet is highly successful. In this article, we decided to explain to you how to delegate your tokens in an easy manner, which can be done with the Rainbow Wallet. With this app, you can monitor the network, execute transfers, or delegate to a validator. And you can do all this using a nice interface without having the need to navigate through the command line.
👉 The App is available on Android and iOS, for the IRISnet and Cosmos Network.Why should you delegate your IRIS tokens?- You contribute to the security and decentralization of the network by taking part in the validation process- You earn interests based on inflation (currently 4%)- By delegating, you do not have to set up your own validator, which costs time and requires some technical skills
1. Install the Rainbow wallet
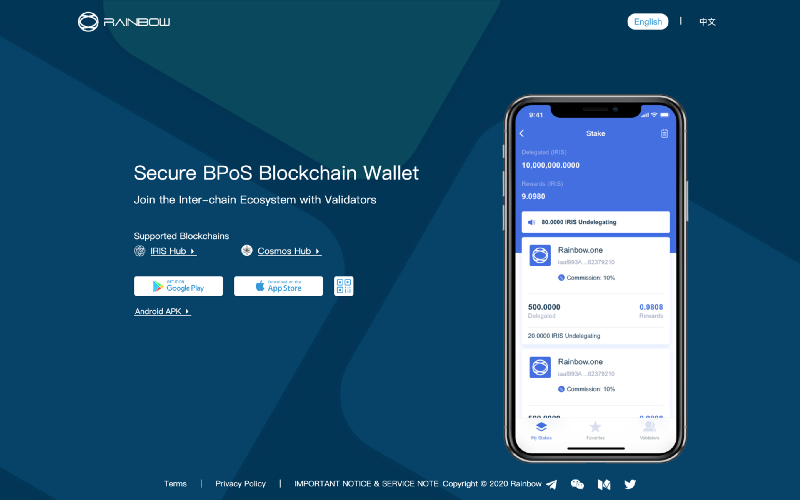
To install the app, we recommend to directly use your phone and go on the Rainbow Wallet website: https://rainbow.one/, Google Play Store or Apple Store. If your device is not compatible with the Google Store version, you can use the Android APK on the official website.
We conduct this tutorial on the Android version of the app, however, the IOS version is almost identical.
By clicking on Android, a message will pop up asking you if you really want to download it. Just click “approve”, and the app will appear on your downloads.
In case you have used the APK, you’ll need to approve the app in your settings. Normally, you should receive a message telling you that your phone blocks apps from unknown sources.
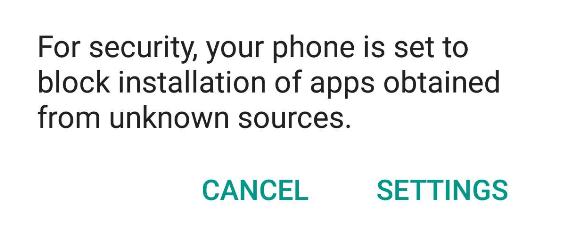
Don’t worry, this is normal, you simply need to go into Settings, in the “Lock screen and Security” page, approve the app and allow installation of apps from sources other than the Play Store.

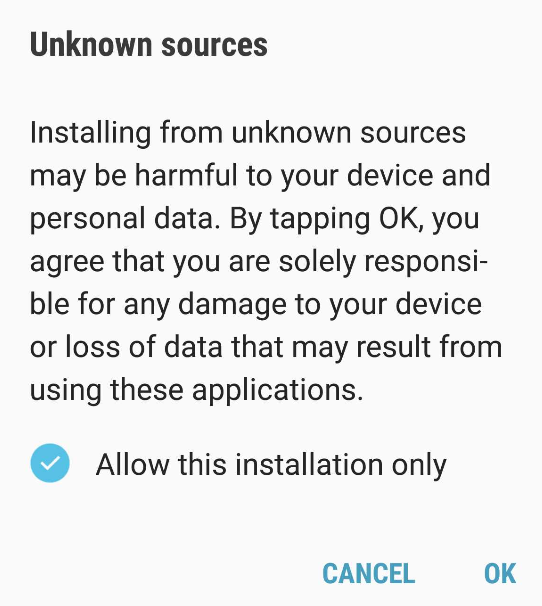
By doing this, make sure to allow this installation only, doing so, you ensure that a warning message will appear in case you want to install other apps using the APK.
Make sure to accept only unknown sources that you know are trusted as it may be harmful to your device and personal data.
When this is done, just click on install and the wallet should normally be downloaded and installed on your phone.
2. Create / Import Your Rainbow Wallet
Now, that the app is downloaded, you will need to create or import a wallet.

If you already have a previous wallet you can also import it or just use the app to watch your wallet. In this tutorial, we will see how to create a wallet.
When you create the wallet, make sure to register your mnemonic correctly and in a safe way. Please don’t share these words with no one, if someone is asking you for this information it is most likely a scammer! (Not anyone from our team neither from the IRISnet team, Interchain Foundation or other validators will ask you this information.)
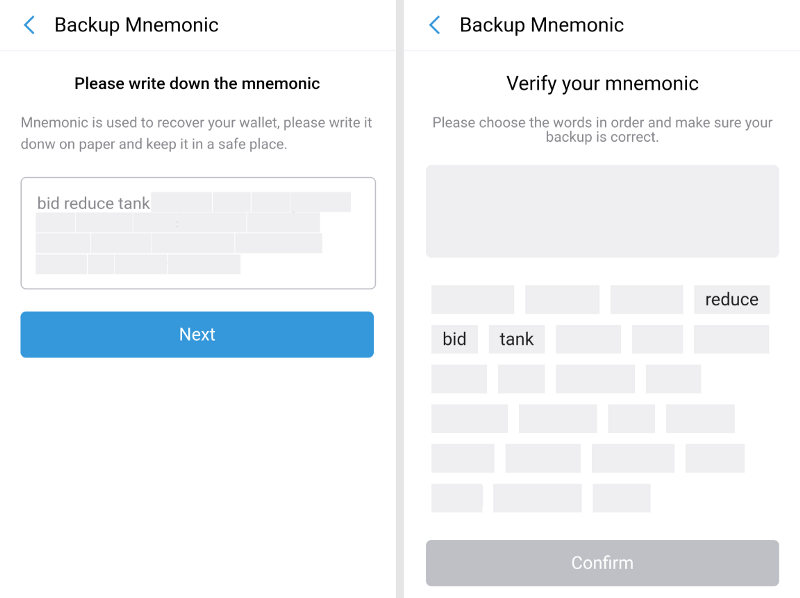
It is very important to keep the mnemonic, i.e. seed phrase, in a safe place, as you will need it to recover your wallet if something happens.
In the case you have chosen to create a wallet, you will need to validate it by rewriting the seed phrase down. You need to place the words in the exact same order they appeared on the screen.
With this done, you will now be able to access your wallet!
If you did not take part in the private sale or in the incentivized Testnet (Fuxi-8000), you can buy some Iris through OTC, or wait for exchanges to list it. There is also a plan by the Foundation to airdrop some tokens to wallet users.
3. Delegate Your IRIS tokens
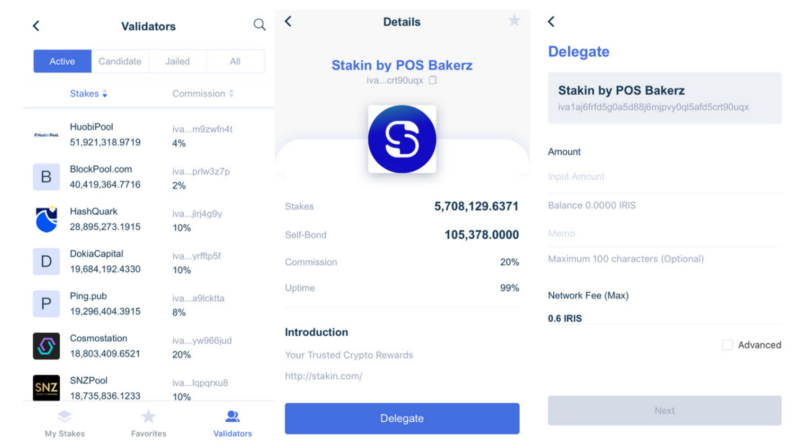
Once your wallet created or opened, you will need to click on the followings in order to delegate your tokens:
- Go in the Validators tab by pressing “Validators” at the bottom of your screen
- Carefully select your validators, with criteria such as Uptime, Commission rate, or Reputation, which are shown when clicking on a Validators’ name
- Once decided, click on the validators of your choice, and then “Delegate”
- Select the amount you wish to delegate, we recommend that you diversify your holdings among several validators in case of uptime or performance issues.
Tada! You are now delegating and contributing to the network. Make sure to come back regularly in order to check the performance of your validators.
Stakin.https://www.mintscan.io/iris/validators/iva1aj6frfd5g0a5d88j6mjpvy0ql5afd5crt90uqx
Discover more about IRISnet

Disclaimer: The IRIS network as described in this article is under development and is being constantly updated, including but not limited to key governance and technical features. This is not investment advice. This article is for information purposes only. Cryptocurrencies are highly volatile investment assets. We suggest that you conduct your own research before deciding to purchase cryptocurrencies, and we will not be responsible for any loss of capital related to the reading of this article.
Join the conversation