

EigenLayer, built on Ethereum, introduces restaking while keeping the security of Ethereum. Users who stake ETH can benefit from EigenLayer smart contracts, by restaking their ETH to additional networks in the ecosystem.
Restaking ETH Natively means pointing your Ethereum validator’s withdrawal credentials to your EigenPod. To participate in Native Restaking, you have to operate your own Ethereum Validator node.
If you are interested in learning more about EigenLayer, feel free to take this deep dive that we recently published.
Before getting started, you need to verify the validator withdrawal prefix, which can either be 0x00 or 0x01. If you are not sure what is the prefix of your existing validator, you can use the ethdo command, which outputs your withdrawal credentials:
ethdo validator info --validator=<yourvalidatorIndex> --verbose
You can also find your validator here https://beaconcha.in/validators, and check the Withdrawal Credentials under Deposits.
If you are setting up a new validator, then simply set your withdrawal credential to EigenPod, which you are going to create in Step 1. You can also choose to deploy the validator with the 0x00 prefix for easier transition with EigenLayer later.
To use the 0x00 prefix, do not set --execution_address or --eth1_withdrawal_address flags when setting up new Ethereum validators.
When you have the 0x00 prefix, you can either choose to migrate your withdrawal credential to your EigenPod address or convert your withdrawal credential to an execution address(0x01) which should correspond to your EigenPod. Otherwise, you will not be able to restake and need to exit your validators. It is also worth noting that if you update your credentials before restaking on EigenLayer, you will need to go through the withdrawal process and start the ETH staking process again. You can migrate only once, so proceed cautiously.
If you already have a validator with a 0x01 prefix, then you need to first exit from the beacon chain and create a new validator with withdrawal credentials set to EigenPod.
Here’s a step-by-step guide on how to restake ETH natively with EigenLayer:
Step 1. Create EigenPod
Before proceeding with Step 1, make sure you have read through the previous part and validated your prefix.
An EigenPod is a smart contract, that is managed by you, to facilitate the monitoring and managing of balance and withdrawal statuses.
- Any number of validators can be pointed to a single EigenPod
- Ethereum address can only be linked to a single EigenPod
- The address you use to deploy an EigenPod is the owner of the smart contract and has the permission to restake and withdraw
- The ownership of an EigenPod cannot be transferred
Go to the EigenLayer App (https://app.eigenlayer.xyz/) and connect your wallet. If prompted, you must also review and accept the Terms of Service & Privacy Policy.
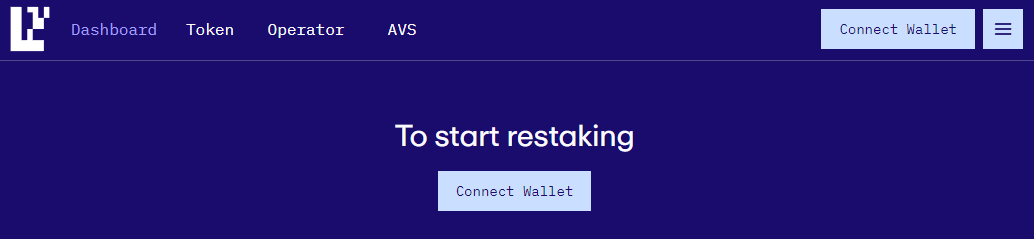
After your wallet is connected, click Restake Your Tokens

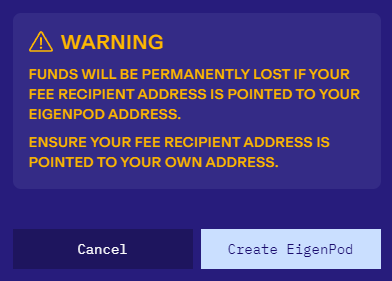
Click Create EigenPod

You should then be prompted with a warning to review the fee recipient and click Create EigenPod, you also need to authorize the transaction in your wallet.
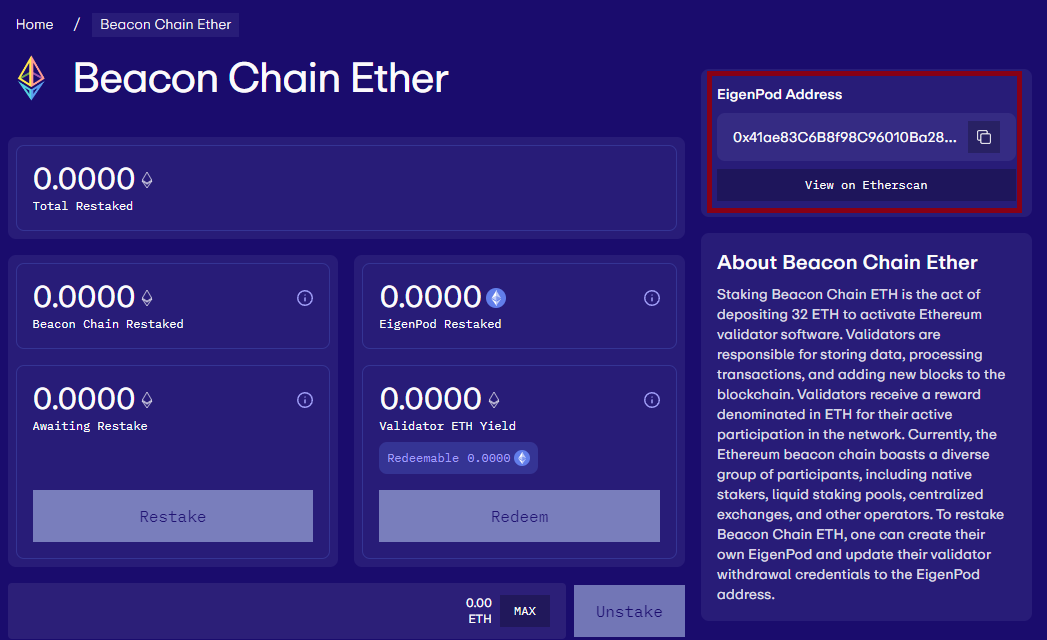
If successful, you should receive a confirmation and find your EigenPod address in Token -> Beacon Chain Ether
Step 2. Set Withdrawal Credentials
Next, we need to set your validator withdrawal credentials. To do so, there are three different options.
Option 1 - ethdo
- Install ethdo - https://github.com/wealdtech/ethdo
- Copy the EigenPod address created in the previous step
- Update the validator’s withdrawal address, you can follow the guide here.
- Now check that the withdrawal credentials are correctly set on your validator, by running the following command, where VALIDATOR_INDEX is your validator’s index
ethdo validator credentials get --validator=VALIDATOR_INDEX
- If all is correct, you should be able to see on your EigenPod dashboard, the same number of restaked validators whose withdrawal credentials you repointed.
Option 2 - Consensus Client
Each consensus client has their own instructions that you can follow. You would need to use the previously generated EigenPod address as the withdrawal credential.
Option 3 - DAppNode, Avado, etc
- Use the Wagyu Key Gen tool
- Generate a BLS signature by clicking on the use existing recovery phrase. This allows you to unstake from the beacon chain and receive staking funds back to the execution layer.
- Using Beacon chain explorer, find your validator ID
- Finally, using this tool from the Beacon chain explorer, broadcast the signature generated in step 1.
It is to be noted to avoid directing execution rewards(suggested_fee_recipient) to EigenPod, otherwise the funds may get permanently stuck.
Step 3. Withdraw from EigenLayer
Now that you have updated the withdrawal credentials, let’s look at how to withdraw from native restaking on EigenLayer. You can either choose a partial withdrawal or a full withdrawal. It is noted that once you initiate an unstake, it takes 7 days before you can continue with the withdrawal of your funds.
Partial withdrawal
Step 1 - Go to the EigenLayer App (https://app.eigenlayer.xyz/), click Token, and choose Beacon Chain Ether.
Step 2 - Click Unstake to start the withdrawal process and initiate the 7-day escrow period. Once you have confirmed the transaction, you will see the balance under Unstake pending.
Step 3 - Come back when the escrow period is over and click Withdraw.
Once finalized you will receive a confirmation!
Full withdrawal
Step 1 - Initiate a withdrawal from your validator consensus client to your EigenPod smart contract
Step 2 - Once the validator exit is fully completed, your staked ETH balance will be visible on your EigenPod address, you can check this on the EigenLayer app.
To check the current status of the validator queue for an estimated timeline, check here - https://www.validatorqueue.com/
Step 3 - Open the EigenLayer App, click Token, and choose Beacon Chain Ether. Now you can Unstake your delegation. Keep in mind that this takes 7 days to complete and during this time, you can see the balance under Unstake pending.
Step 4 - Once the 7-day escrow period is complete, Withdraw the ETH to your wallet.
After the transaction is completed, you will receive a confirmation!
Join the conversation