

An in-depth, step-by-step guide for staking your NEAR assets with the Moonlet Wallet.
Hi Readers,
In today’s article, we’re taking you step-by-step through staking your $NEAR assets using the Moonlet Wallet.
The Moonlet Wallet is a non-custodial digital asset wallet that enables crypto enthusiasts to manage their assets securely, stake their tokens, and manage their return on the platform. Moonlet is a multi-asset wallet that also offers staking for Solana, Celo, and Ethereum. Additionally, you can use the wallet with Ledger if you’d like to; however, we will not use Ledger in this article.
Before we get started, let’s have a quick look at the NEAR protocol. This decentralized application platform is designed to facilitate the open web of the future and power its economy. The envisioned web of the future for NEAR has everything from new currencies to new applications and even wholly new industries. On the NEAR platform, developers can host serverless applications and smart contracts with easy access to open finance networks and benefit from an entire ecosystem of open web components.
NEAR Protocol prides itself on being built from the ground up to be the most accessible network in the world for both developers and their end-users while still ensuring scalability and security to serve those same users. That said, let’s get to staking!
Let’s Get Staking!
If you already have a Moonlet wallet, please go directly to step 2.
Step 1 — Create Your Moonlet Wallet
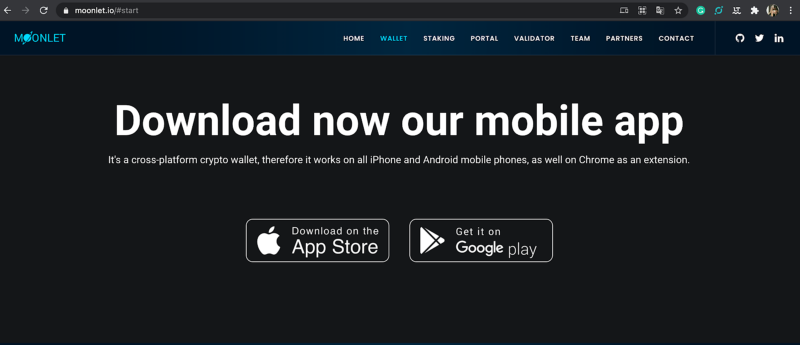
To download the app, go to https://moonlet.io/#start, scroll down and select the download option for Google Play or the Apple Store. Please note that you will need to have the app installed on your phone to use the Chrome extension.
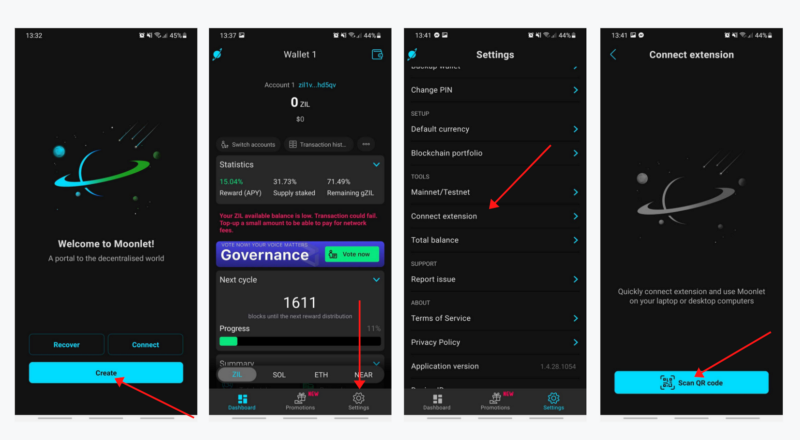
Once you’ve downloaded the wallet, select “create” to get your new wallet. Read carefully through the terms of service and select next. You will be asked to write down your recovery phrase. Please keep in mind that your recovery phrase is the only way to restore your Moonlet wallet if you lose your phone or forget your password.
The recovery phase consists of 12 words which you need to write down (no screenshot possibility here) in the right order. Next, fill out the words to confirm you’ve written them down correctly. Select “confirm” to continue. Finally, fill in your desired PIN code twice to verify.
To connect the extension, go to “settings,” then select “connect extension” and scan the QR-code given by the Chrome extension (see image below).
And that’s it; you’re now ready to get your asset into the wallet.
Step 2 — Add Funds To Your Wallet
To send $NEAR to your Moonlet Wallet from another wallet or exchange, select “NEAR” in the bottom right of the screen (see left image below).
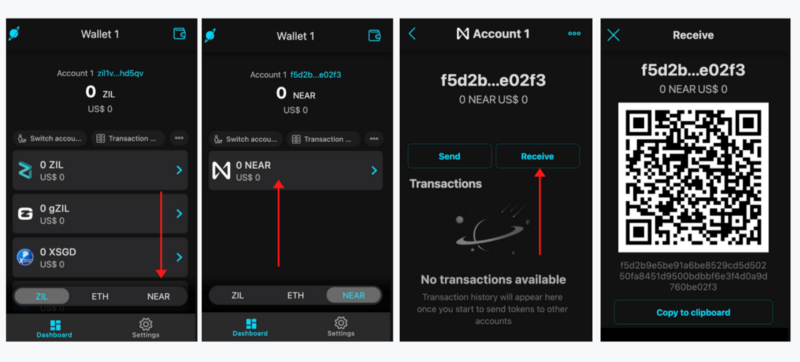
Your NEAR Wallet dashboard will open. Select $NEAR once again to open the sending and receiving options. To receive assets, select “Receive” and scan the QR-code or copy your public wallet address to your clipboard. Once sent, it will take a couple of seconds before the assets will be shown in your wallet.
Step 3 — It’s Time To Stake
If you’d like to stake your $NEAR assets, you will have to do so with the mobile app. Open the app and select “NEAR”. If you’ve followed step 2 correctly, you will now have a big “Stake Now” button on the top of your dashboard.
When you press the “Stake Now”-button, a list of different nodes/validators is shown, select the validator(s) of your choice and click “next” (see image below). Fill the amount of $NEAR you’d like to stake out, and select “Confirm”.
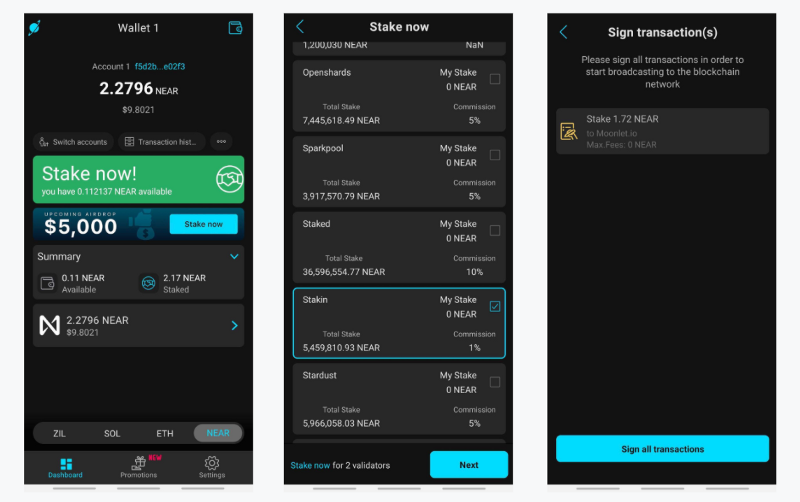
You will be asked to sign the transaction, which you can do by selecting “sign all transactions” and fill out your pin code. Please keep in mind that it will take a few minutes before your staked assets will be confirmed.
And that’s it! You’ve now staked your $NEAR!!
DISCLAIMER: This is not financial advice. Staking, delegation, and cryptocurrencies involve a high degree of risk, and there is always the possibility of loss, including the failure of all staked digital assets. Additionally, delegators are at risk of slashing in case of security or liveness faults on some protocols. We advise you to do your due diligence before choosing a validator.
Join the conversation